
Three Bathroom Reno Project: Guest Bath Reveal

It’s reveal time for the three bath reno project! I’ve been itching to share this one with you all since we started demo in December. If you’ve been following along on Instagram, I hope you had a chance to see the construction updates along the way to see how it all unfolded! (If not, you can catch up on the process in this Highlight.) The project wrapped up in mid-March and I just had a chance to get over there to shoot it last weekend. I love how everything turned out!
**Update! All three bathroom reveals are now live on the blog! Check out the upstairs bath here and the primary bath here.
Since there’s a LOT to share, each bathroom is going to get its own dedicated post. Today we’ll start with the downstairs guest bath! It hadn’t been renovated for a long time - maybe since the ‘50s - so it was high time for it to get a refresh. The contractors said there was plaster with horsehair behind the walls, crazy how construction materials have changed over time!
It’s the smallest bathroom of the three, and it acts as both the ensuite for one bedroom as well as the powder room for guests, so it’s a highly utilized bathroom.
The Before:


As you can see, it’s pretty tiny! The shower felt like a little cave back there. It had a drop ceiling and no insulation, so you can imagine how cold it felt with all the tile, especially in the winter. The vanity had been replaced a few years back and was in good shape, so we kept it and just swapped out the faucet. Everything else had to go!
The After:


The footprint of the bathroom stayed the same, but man it feels different and so much more open thanks to the re-work of the shower and the fact that we flipped the bedroom door to swing the opposite way!
We packed a lot of punch into this little bath - from the blue glass shower tile to the star and cross tile on the floor to the vertical v-groove paneling on the walls. I’m including all the sources at the end, so if you’re looking for anything specific, be sure to scroll all the way down.

Here’s a peek inside the shower. We used these long bright blue 2”x12” tiles on the walls and continued the same white matte star and cross tile on the floor. It’s just too cute together!
You wouldn’t know this from the before photos since the shower door is closed, but the shower head used to be on the wall where the shower niche is now. It made it feel very tight since the shower is deeper than it is wide. Moving the plumbing to the back wall (with the control valve on the right) offers a little more breathing room and it feels like a very comfortable size now.
One great choice I made for this bathroom was included a shaving niche! That’s what that little box is near the floor. :) Having a place to prop your foot in a small shower is really helpful when there’s no ledge anywhere else. I highly recommend including one if you’re renovating a shower.

I also really like this shower head - so much so that we used it in all three baths! The homeowners wanted a hand shower option, but didn’t want a lot of extra plumbing. This one fit the bill! It’s unique in that you can rotate the shower head 90 degrees and use both shower heads at the same time if desired, or you can detach one of the heads to use alone. It offers a lot of versatility! In the photos above you can see it positioned “normally” in the vertical position and in the horizontal orientation.
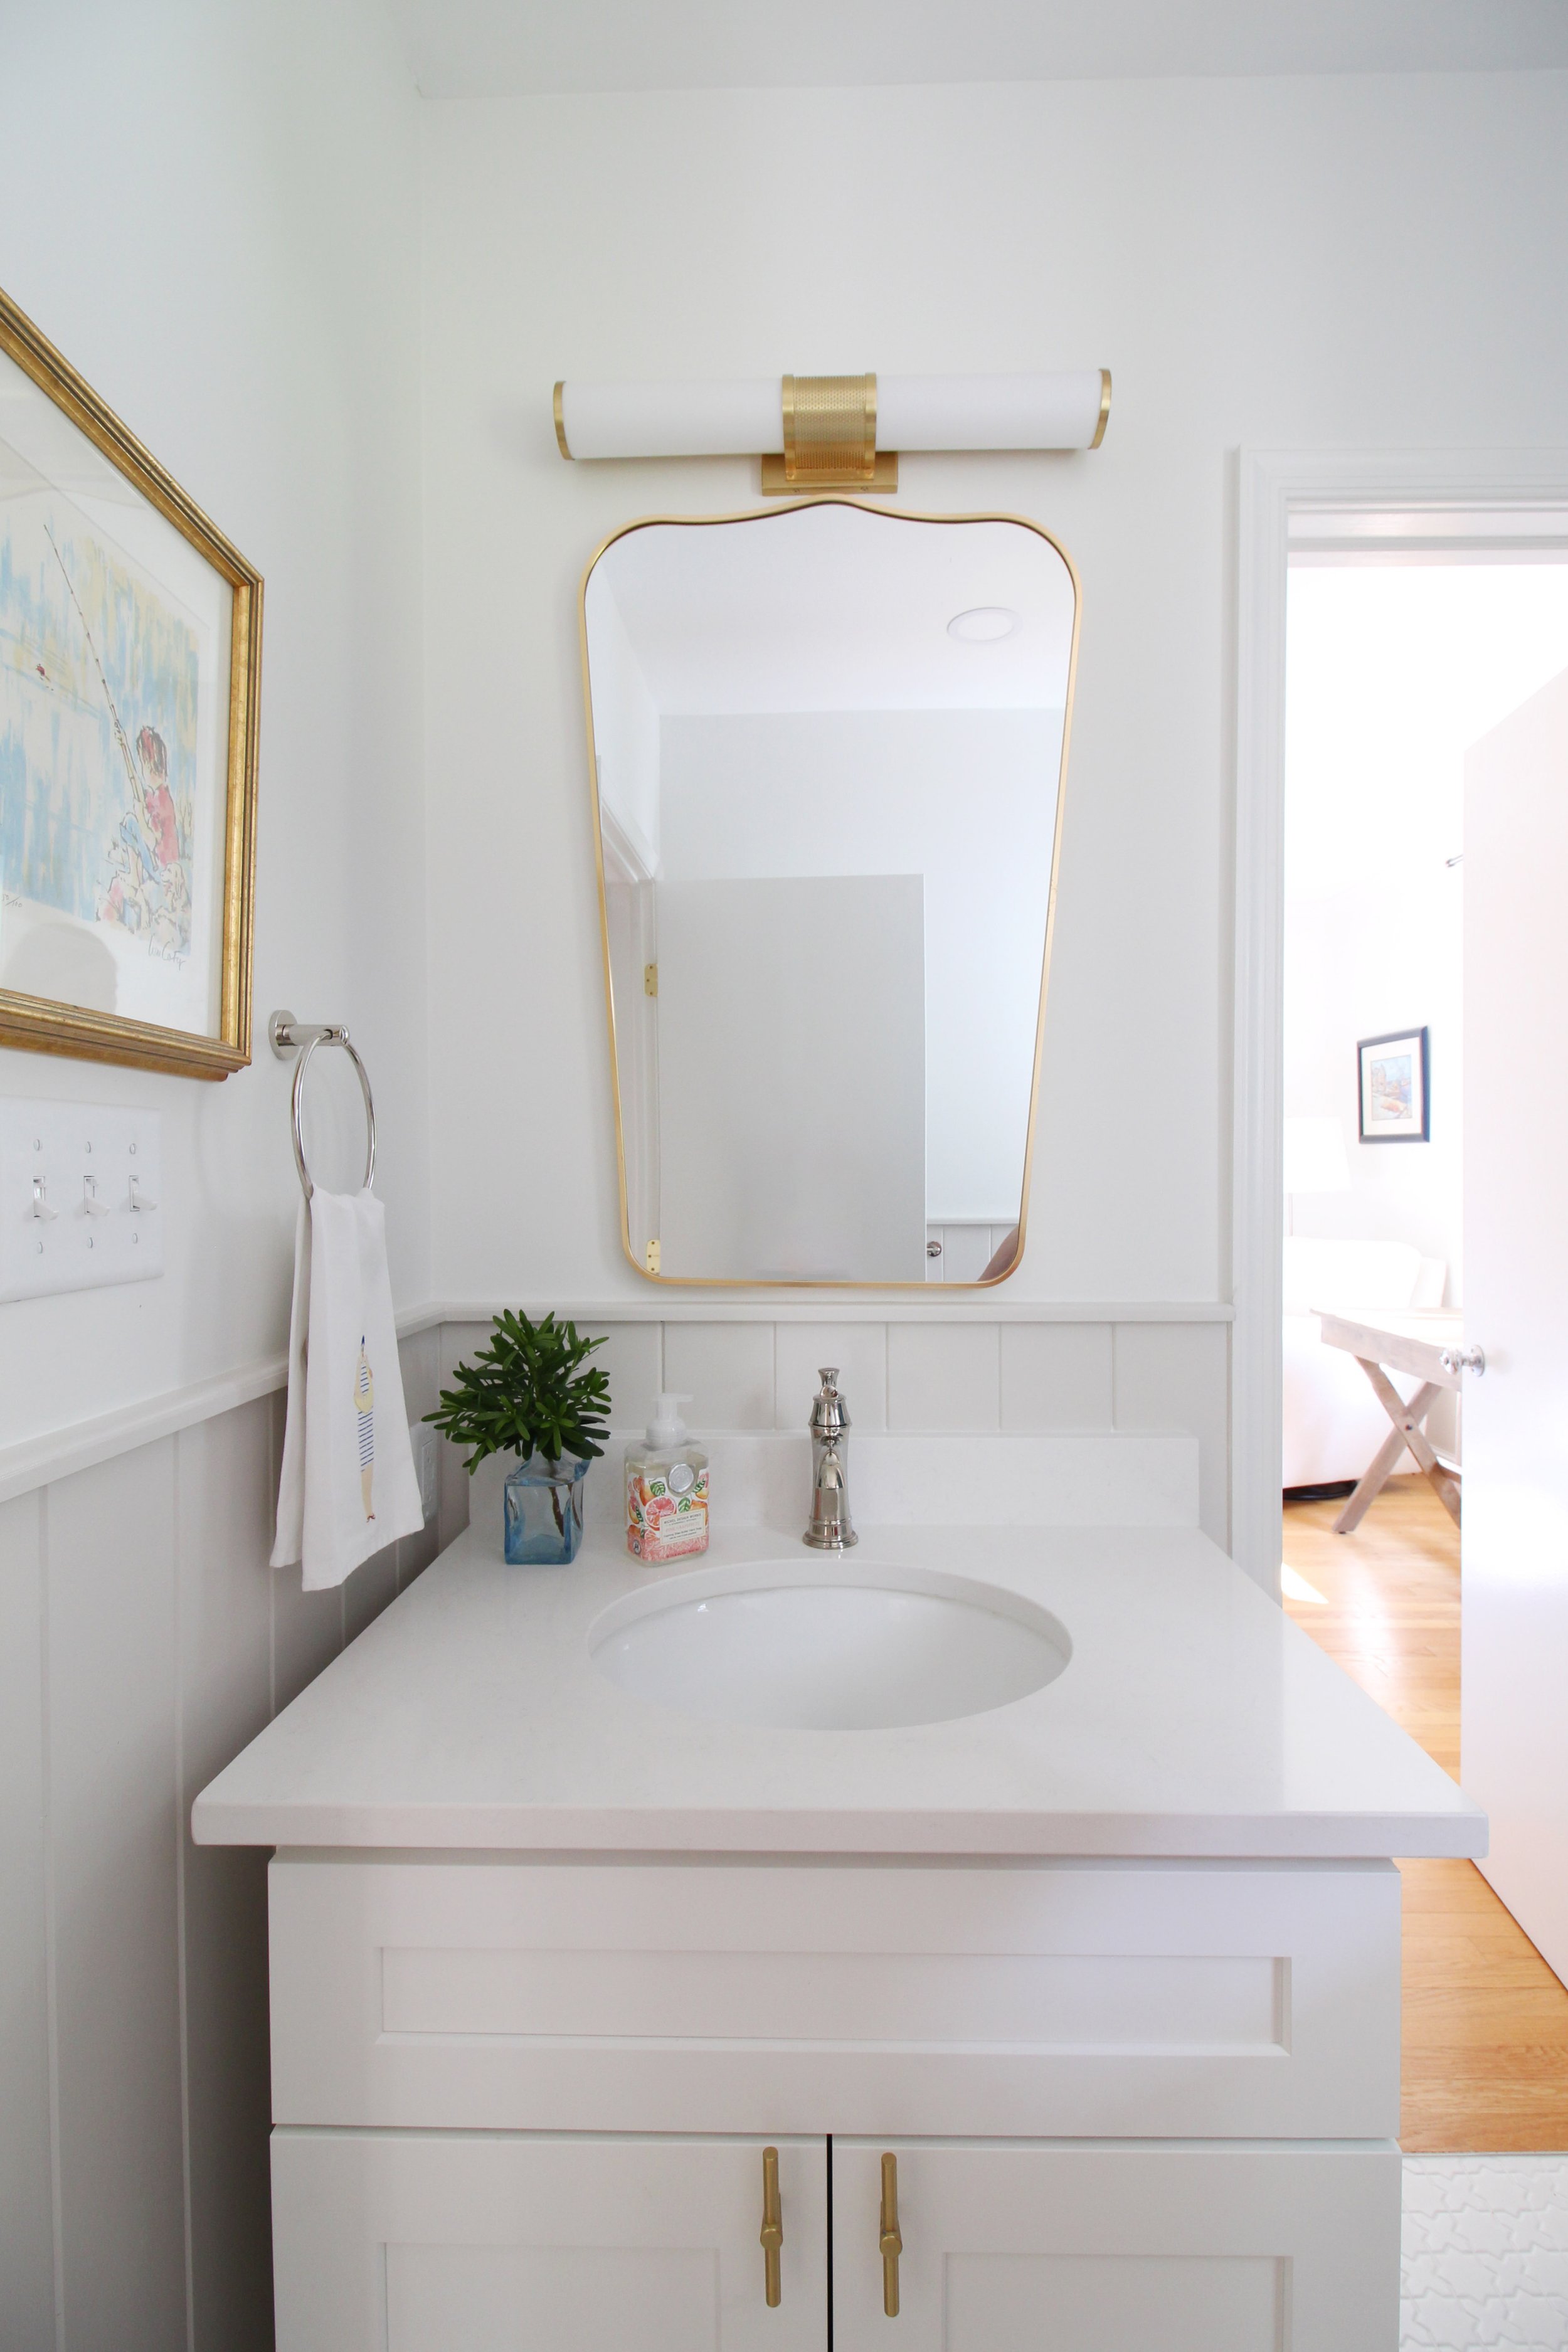
I love that we mixed metals in here too with brass and polished nickel. Polished nickel has a nice warmth to it so it mixes beautifully with brass. We used brass in the vanity light fixture, shield-style mirror, and vanity hardware. All of the plumbing and accessories are polished nickel.
I love the pairing of the mirror with the vanity light - I think they complement each other really well with their curves.

Here’s a good look at the vanity faucet, which also has that nice curvature to mimic the lines of the mirror and sconce. It’s a really solid piece of plumbing, which was important to have in this high traffic bathroom. If you can invest in plumbing fixtures, do it! You’ll never regret that in something that’s highly utilized.

Lastly, here’s the toilet wall again! I’m so glad we added the vertical paneling and trim detail to the walls in here. It adds great visual interest and a little bit of contrast with the white walls. The walls are SW Snowbound and the paneling is BM Pale Oak. We had planned to wallpaper in here on the top part of the walls, but now that everything is complete, we’re holding off for now to see if we still want to add that! It can easily be done down the road.
That wraps up the first of three bathrooms in this project! Have questions? Ask away! You’ll find all the sources below as well.
Sources
Shower tile (tile has been discontinued, but this is similar)
Floor tile (matte white cross and star mosaic)
Shower head (polished nickel)
Vanity faucet (polished nickel)
Vanity (similar)
Towel bar, hand towel ring, toilet paper holder collection (polished nickel)
Paint colors: SW Snowbound (walls), BM Pale Oak (paneling)
*Note that these links may be affiliate links, which means Mix & Match Design Co. earns a small commission from your purchase at no cost to you.